I finished all of the cutting and drilling for the project. I’ve moved on to installing hardware. A few changes occured along the way. I opted to not turn the HDD’s around because the sapce jsut wasn’t there. I also installed a switch on teh bottom of the case for the cold cathodes. Other than that, everything is going according to plan. Here’s the pics:
-
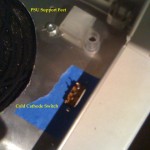
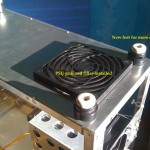
- CC switch and PSU custom feet
-
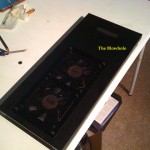
- Blowhole top
-
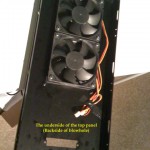
- Blowhole back
-
- The drill holes help in cutting
-
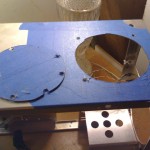
- PSU hole is cut
-
- PSU hole is done
-
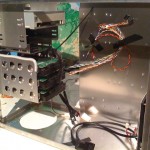
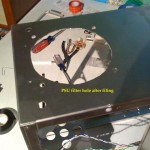
- Cable Management begins
-
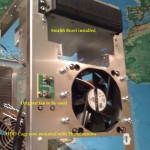
- Mighty Mite front
-
- Finished bottom
-
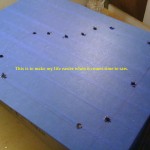
- Hole by hole guideline
-
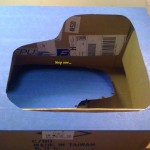
- Step One…
-
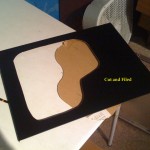
- Window with filing
-
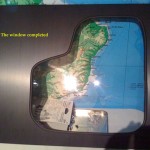
- Finished window
I really enjoy these new cases with the PSU on the bottom (if I’m examining yours correctly); I know it really opened up a lot of space in the P182 for my build — you get to put those hot pieces (CPU, GPU) right in that top corner and shuttle the hot air directly out of the case instead of having it built up and vent through the PSU. Good stuff and nice work with the hole cutting!
Agreed, PSU on the bottom is a nice feature. This case also has the MoBo flipped so the hot stuff is really on the top. Also if you notice the PSU sits directly under the hard drives rather than on the top or bottom of the MoBo. This case treats space as a premium. Which is pretty cool, but all those cables from the PSU are difficult to work with, even with a modular PSU!
Ahh yes — best of luck with the cable management; we look forward to see the pictures of the completed computer!